
Make a Sale (With Card)
- Type the amount on the Keypad Tab on the Sale Screen or select an item from your inventory by choosing from the Items Tab.
- Tap on the Charge Button.
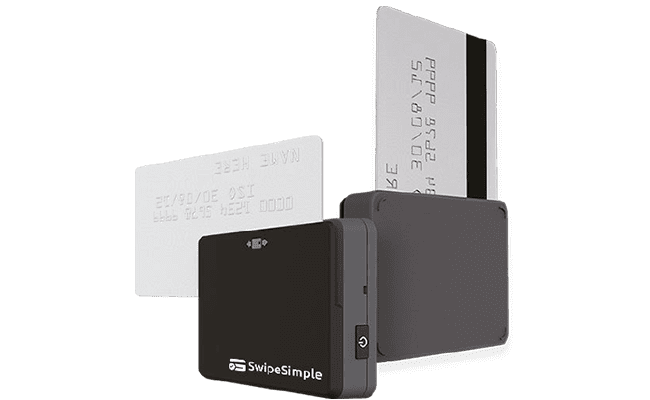
- Connect your Swipe Simple card reader to the mobile device.
- Swipe, Dip, or Tap your card or device when prompted by the app.Swipe, Dip, or Tap your card or device when prompted by the app.
- Select Receipt to enter an email or phone number to send a receipt.
- * If Incorrect amount or item is selected, go to Cart tab and tap Clear twice.
Make a Sale (Card not Present)
- Follow previous steps 1-2 then Select Keyed Entry and enter Card Number.
- Enter Expiration Date, CVV code and Zip Code.
- Select Process and have customer enter signature.
- Select Receipt to enter an email or phone number to send a receipt.
Cash Sale
- Follow previous steps 1-2 then Choose Cash and enter Tendered Amount.
- Select Process and return change (if applicable).
- Select Receipt to enter an email or phone number to send a receipt.
Add items to Sale
- Tap the Items tab on the Sale screen.
- Select the item you wish to add to sale.
- To add more than one item, tap equal amount of items needed.
* Search option can be used in order to locate desired item easily.
** You can use the Cart tab to manage the amount of items being charged in transaction.
Add a New Item not in Inventory To Sale
- Enter the Item amount.
- Enter the amount to charge using the Keypad tab on the Sale Screen to add a Quick Item.
- Add the amount to a transaction.
- Select Charge to view/edit item on the Cart tab.
- Tap Quick Item on the Cart tab to customize the new item’s name, adjust quantity, or turn tax on or off.
* To add another item to the sale, tap (+) and enter another amount.
Issue Refunds
- Go to History tab.
- Select transaction to be Refunded.
- Enter amount and tap on Refund.
Data on Reports Page
- Daily Summary: See total sales, tips, taxes, and refunds per day.
View Transactions
- Go to Transactions page to view:
- Transaction Number
- Transaction Date and Time
- Transaction Status
- Cardholder Name (for swiped and dipped transactions)
- Authorization Code
- Card Details: Issuer, last 4 digits of card number and transaction value.
* From here you can also export the las 1000 transactions by selecting Export Transactions list in CVS format.
Manage Signature, Sales Tax and Tips
- Go to Account Settings page on left panel.
- Choose between:
- Signature Settings: Choose when the app asks for signatures on non-EMV transactions.
- Tax Settings: Choose whether the app to collects sales tax and set the tax rate.
- Tip Settings: Choose whether the app prompts for tips and set default tip percentages.
Process Transactions
- Go to Items page on left panel.
- Enter the following information:
- Amount , Reference Number (Optional), Cardholder Name (Optional) ,Credit Card Number
- Card Expiration Date, Card CVV, Zip Code.
- Click on Charge.
- Choose between Print Receipt or Send Receipt.
Manage Inventory
- Go to Items page on left panel.
- Choose between:
- Add New Item
- New items can be added to inventory individually or in bulk through the “Upload multiple items using a CSV file” option.
- Edit Items
- Edit an item’s name, price, SKU, taxability, and quantity by selecting the item from the table.
- Export items list in CVS format
- Use to download current inventory items into a CVS file.
- Add New Item
Customize Receipts
- Go to Account Settings page on left panel.
- Edit details for Header and/or footer of the receipts.
Voice Authorizations
PR: ![]() 787.783.8689
787.783.8689
USA / USVI: ![]() 1.855.437.9991
1.855.437.9991


